Apple AirPrint is a handy feature for printing a document, image or more from an iPhone or iPad.
What you obviously need is an AirPrint compatible printer and a WiFi network to which the printer is connected, as well as your iPhone or iPad.
Apple provides a list of compatible printers on its About AirPrint page. On my side the printer I use is a Brother DCP-9020CDW.
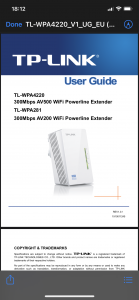
On your iPhone or iPad, open the document or web page you want to print. In the example a PDF document.

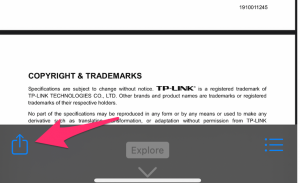
Click on the “share” icon. If the icon isn’t visible, tap anywhere in the document and it should appear along with other document-related options.
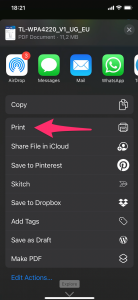
Scroll the next screen up if necessary to bring up the option “Print” .
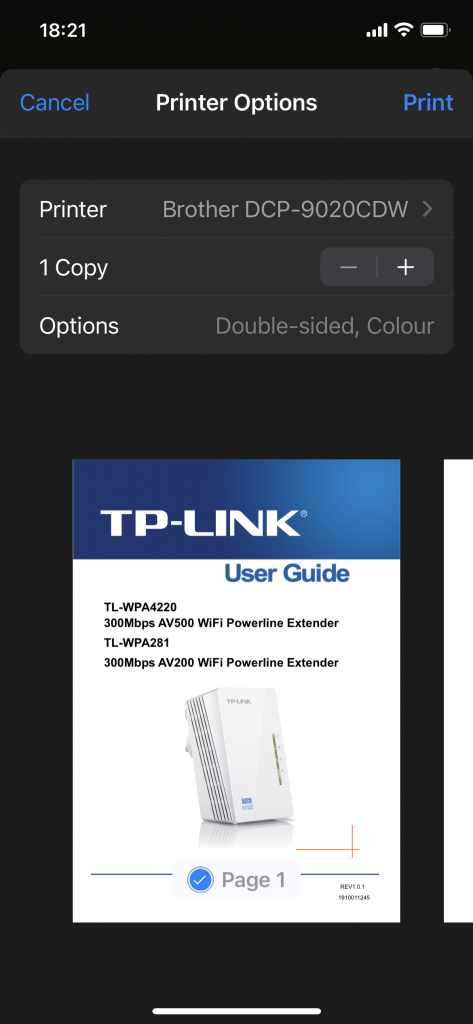
The next screen allows you to select printing options such as double-sided printing (if the printer supports it), color or black and white printing, number of copies, etc.
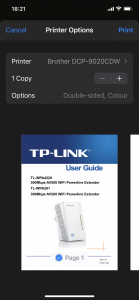
Usually the mentioned printer is your printer, in my case the “Brother DCP-9020CDW”. If not, tap “Select Printer” to display the list of printers available on your network and then choose the desired one.
When you are ready to print, finally click on “Print” at the top right. And your print should come out of the printer. That’s it, very simple.
If your printer did not appear in the list of available printers, it may require to run a setup application on your computer (PC or Mac) in order to configure it for AirPrint. In this case, refer to your printer’s user manual.

