I recently acquired a new iPhone and I was confronted with the question on how to transfer all my data and apps from the old one. I have done it in the past for friends and I wanted share my experience.
Mainly three options
In order to transfer data from one to another iPhone, there are multiple options like backup/restore through a computer, restore from iCloud backup or direct phone to phone copy.
Each of these methods has their pros and cons. Backup / restore via a computer obviously requires to be connected physically to the computer during the process. And this may be quite long. Similarly phone to phone copy requires both old and new phones to be sitting next to each other also for quite some time. Recent phones may embark several hundreds of gigabytes of data and this will drive the total transfer time. As Apple states it:
If you transfer directly from your previous device, you’ll need to wait for the transfer to complete on both devices before you can use them
https://support.apple.com/en-us/HT210216
My favorite option which I’ll describe here is iCloud backup and restore. It goes smoothly and after an initial minimum data restore, the remaining steps continue in background, allowing continuous usage of the old and new iPhones.
Prerequisites and first steps
First of all you need to have an iCloud backup of the old iPhone. You probably do have one since backing up is, in my humble opinion, a must.
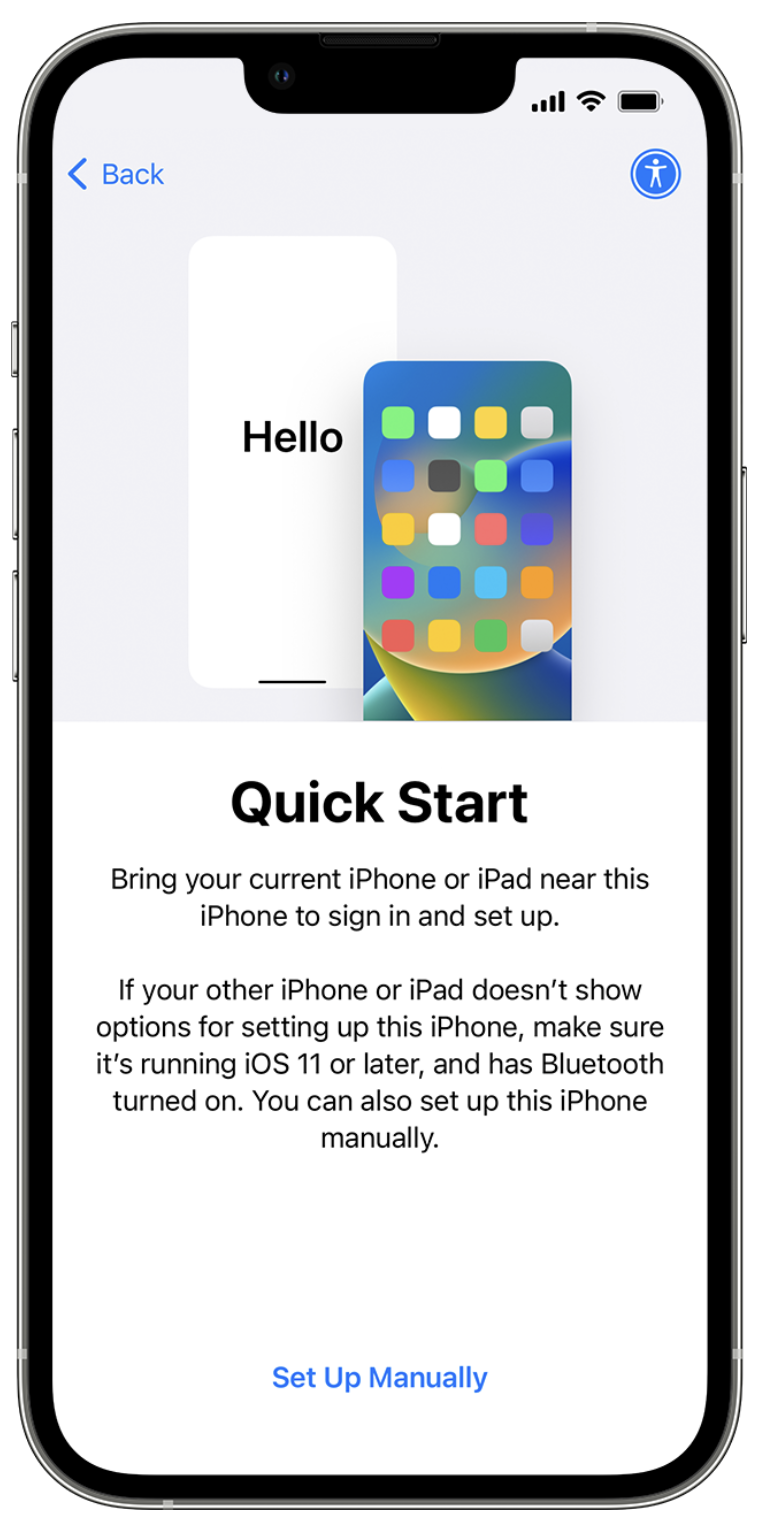
When you turn on the new iPhone, you will be driven through the first steps like choosing the language, the country etc, and then the question of the restore option. See the details on Apple’s web site: https://support.apple.com/en-us/HT210216, before opting for the restore from iCloud. My old iPhone had 256GB of data, but this does not really matter, as the bulk of the data will come in background transfer directly on your wifi or data plan.
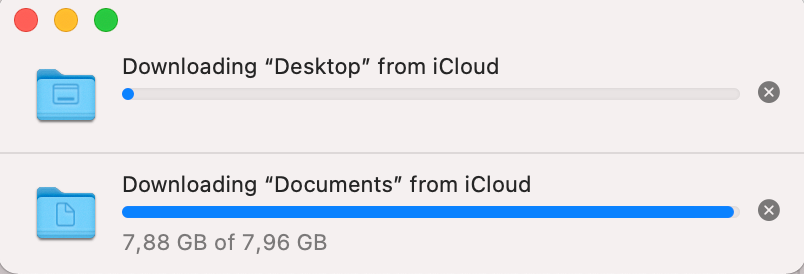
Once the initial setup is complete, a message is displayed announcing that the rest of the data will come later.
Completion
Now that the new iPhone is operational to the bear minimum, while your apps and data are being downloaded from the cloud, there is a number of manual things to be done.
Data plan
If you have a SIM card, take it out of the old iPhone and insert it in the new iPhone.
I have an eSim from Proximus (Belgium). Their website says you only need to visit the My Proximus page and access the QR code. Flash it with the new iPhone and boom, the eSim is transferred. Except that they are missing one important step before doing so: Deactivate the eSim from the old iPhone! If you don’t, you get a message that the QR is either invalid or not compatible with your device. No option: you must delete the eSim from the old iPhone. This is pretty scaring since when this is done, you have no data, no service, so sms. But yeah, I did it. Then I flashed the eSim QR code from My Proximus account and bingo the eSim was activated and pretty much immediately I got my services back, on the new iPhone. For some reason, the PIN code I had set on the eSim was invalid (I suppose it falls back to the initial PIN code). After three failed tentative I could use the PUK also provided on My Proximus web site to reset the PIN code to my desired one.
Wallet
Wallet was restored from the cloud, for each of the Apple Pay cards stored in Wallet, I had to validate them via the bank app. So first thing first, restore or setup the bank app.
Bank app
The bank apps (I have several) all had to be set a new profile, using the bank card and whatever method the bank uses to authenticate you, digipass, soft key, phone call,…
Itsme
In Belgium, we have Itsme, a kind of governmental / bank based authentication app that is very secure and allows access to official sites such as tax system or other finance services. The bank or an ID card reader can be used to validate your identity. Itsme needs to be reactivated on the new device and that is very straight forward: after providing the phone number you pick your favorite bank or eID reader to validate it. If it is a bank, it will be validated via a combination of the bank app (just restored at previous step) and a digipass or other secure method used by the bank.
Back to Wallet
Now that the bank app is setup, each of the Apple Pay cards in your Wallet can be verified. That goes via the bank app and your best smile (assuming FaceID is in use).
Whatsapp, Telegram, etc
Those apps are based on the mobile phone number and service. Once the number is confirmed, an SMS will be sent with a validation code. That’s as simple as that and all your contacts and conversations are restored on the new iPhone.
Mail apps
Mail app, or Gmail app will ask to sign in with your password. Make sure you know it or have access your emails if needed to reset it. No brainer.
Authenticator app
I use an authenticator app for Two Factor Authentication. It was restored fully after asking for confirmation twice that I wanted to restore it from its cloud backup. I did and all my authenticator items were back and functioning.
Photos
Last but not least, Photos. My photo library is iCloud based, that is all my photos are stored in iCloud. That requires most probably a paid service. It is my case.
Thanks to iCloud, my entire photo library was restored on my new iPhone. I don’t which photos are downloaded locally on the phone vs. those replaced by a thumbnail and residing really in Apple’s servers. But the result is that all my photos are reachable in Photos app. They were restored during the night. In no time though the first photos (most recent) were there, visible in the library.
In case your library is not in iCloud, the restore time between iPhones or from your computer via cable may be significantly longer.
That’s it
Your new iPhone should be operational by now. Depending on the apps and services you have, there might be additional steps and sign ins to be performed, such as Dropbox, or Office.
Enjoy!